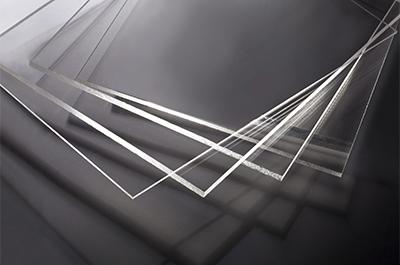

Modern interior design goes beyond basic illumination. Light is also used to reveal material texture, add depth, and shape the atmosphere of a space. Backlit translucent marble walls, illuminated stone features, wine cabinets, display cases, and wardrobe panels all benefit from a broad, uniform surface light source that highlights materials and objects without visible LEDs or distracting bright spots.
Achieving a refined backlit effect takes more than adding LEDs. As the illuminated area becomes larger, designers may encounter excessive brightness near the light-entry edge, a dim center, localized hot spots, or insufficient overall brightness. Available installation depth also determines whether a side-lit or direct-lit structure is more appropriate. This guide explains how large light guide panels can be integrated into translucent stone walls and cabinet lighting, and how diffuser plates, diffuser films, and reflector films can improve uniformity and light utilization.
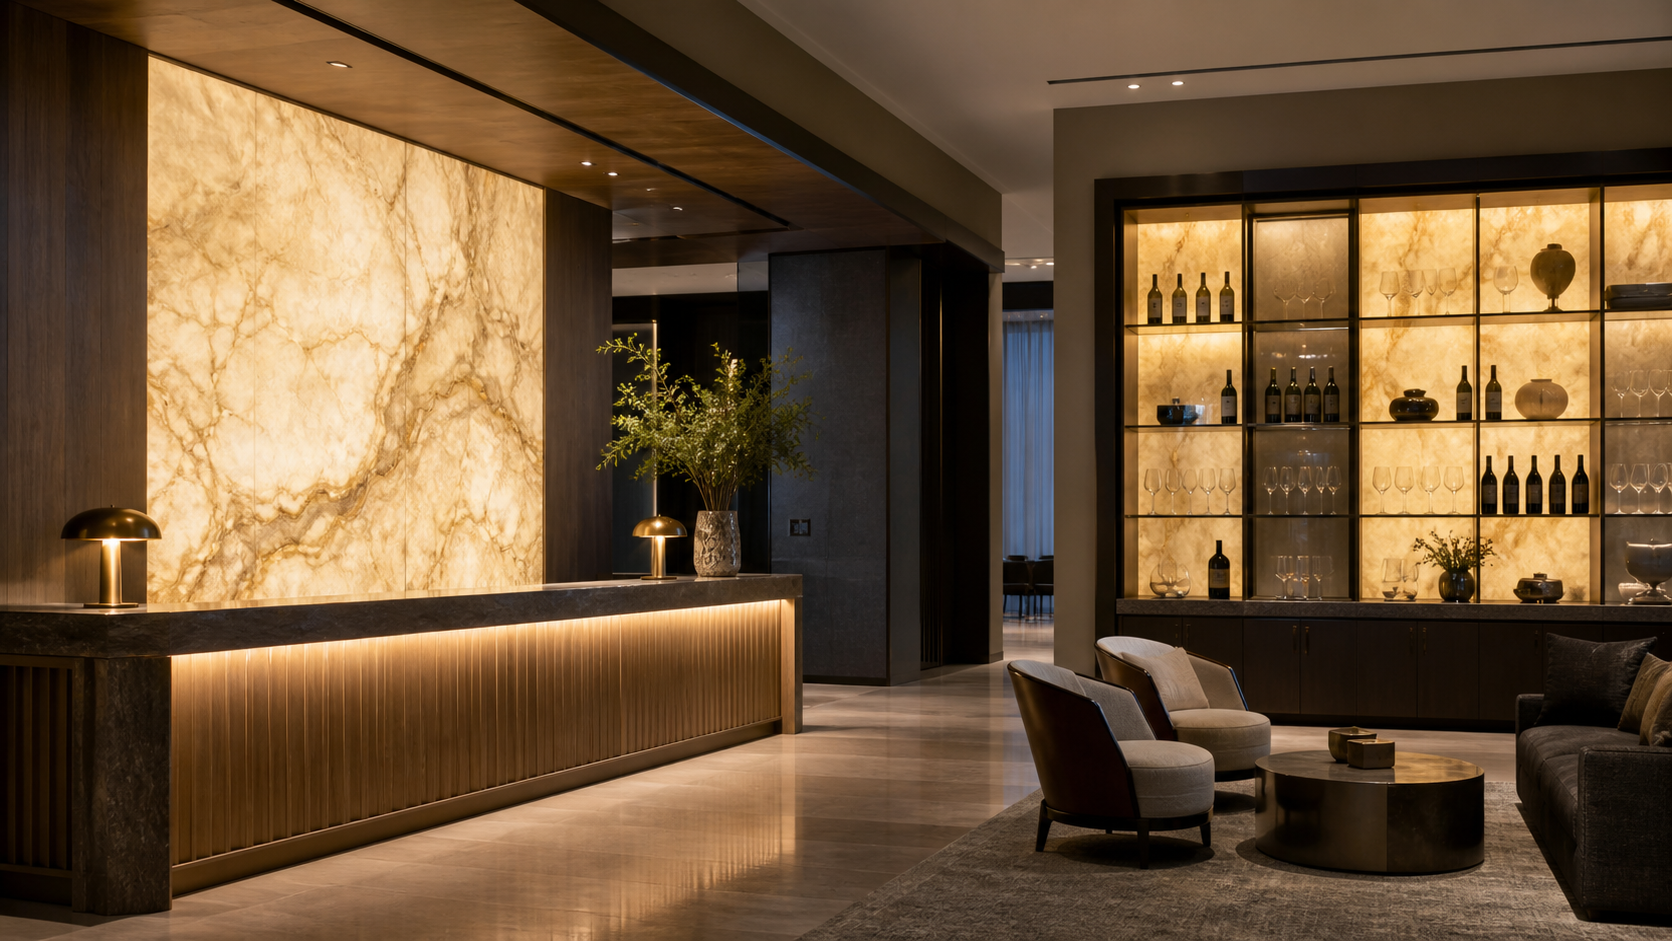
Large luminous panels can provide a continuous, soft surface light behind translucent stone walls, wine cabinets, and display cases.
How Can Large Light Guide Panels Be Used Behind Translucent Marble Walls?
Translucent marble, onyx, alabaster, and engineered translucent stone vary in texture, color, thickness, and light transmission. The goal of backlighting is not simply to make the stone as bright as possible. It is to reveal the material’s pattern evenly while avoiding bright lines, dark zones, and overexposed areas that reduce the perceived quality of the installation.
Where wall depth is limited or a slim profile is required, a side-lit structure can place LEDs along the edge of a large light guide plate. The plate distributes the incoming light across the surface, with a diffuser on the viewing side and a reflector film at the rear. This approach supports a thinner assembly, but the optical dot pattern, light-entry direction, and plate dimensions must be designed for the project. If sufficient depth is available, a direct-lit structure can place the LED array behind the stone and use an appropriate mixing distance and diffuser plate to hide individual LED points.
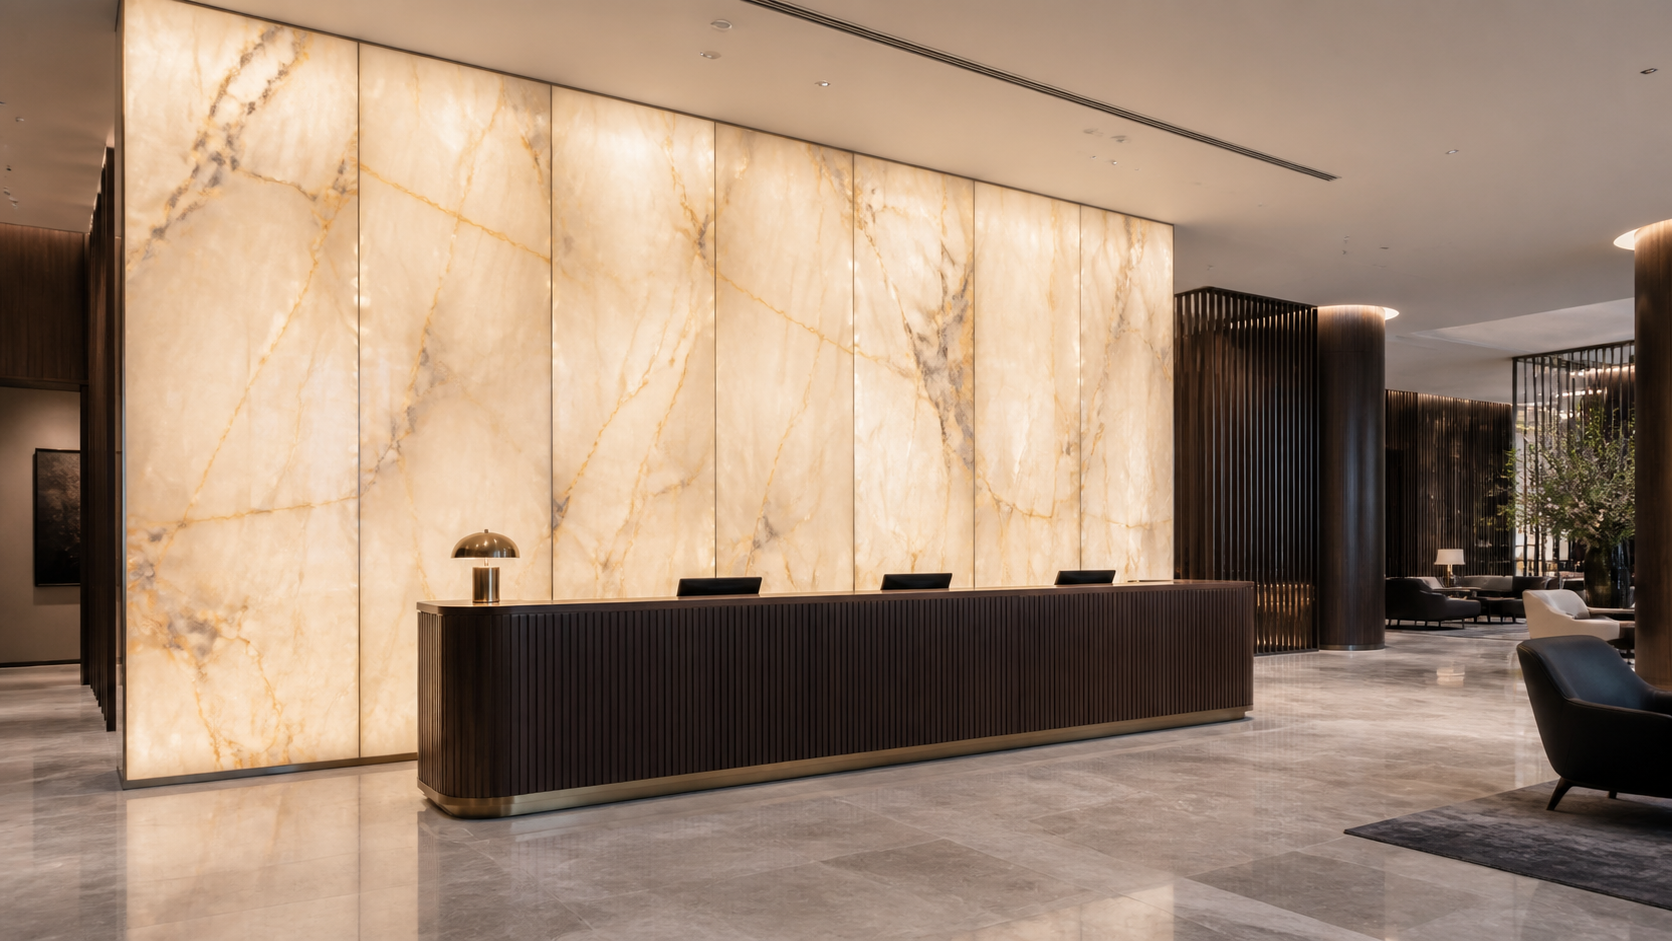
Uniform backlighting helps maintain continuous stone patterns and a refined appearance across large translucent surfaces.
Extended Reading: What Is a Light Guide Plate (LGP)?
Learn how a light guide plate converts edge-mounted LED light into a more uniform surface light source through its optical dot pattern and layer structure.
How Can Large Light Guide Panels Be Integrated into Wine Cabinets and Display Cases?
Wine cabinets, tableware cabinets, luxury display cases, and wardrobes often need soft backlighting within a shallow enclosure. Because viewers stand closer to these applications than to a large stone wall, LED points, bright entry edges, and small variations in brightness are easier to notice.
A side-lit light guide panel is well suited to slim cabinet structures in which the luminous surface is integrated into the rear wall. LEDs can be concealed in the frame while the light guide plate spreads light across the full panel. If more depth is available, a direct-lit LED array and diffuser plate can also create a broad surface light source. The right choice depends on cabinet depth, illuminated dimensions, facing material, target brightness, and service access.
Brightness should not be assessed before the decorative facing material is installed. Glass, acrylic decorative panels, translucent wood-grain sheets, and thin stone veneers all change the final appearance of the light. Evaluating the optical stack together with the actual facing material reduces the risk of unexpected brightness or uniformity after installation.
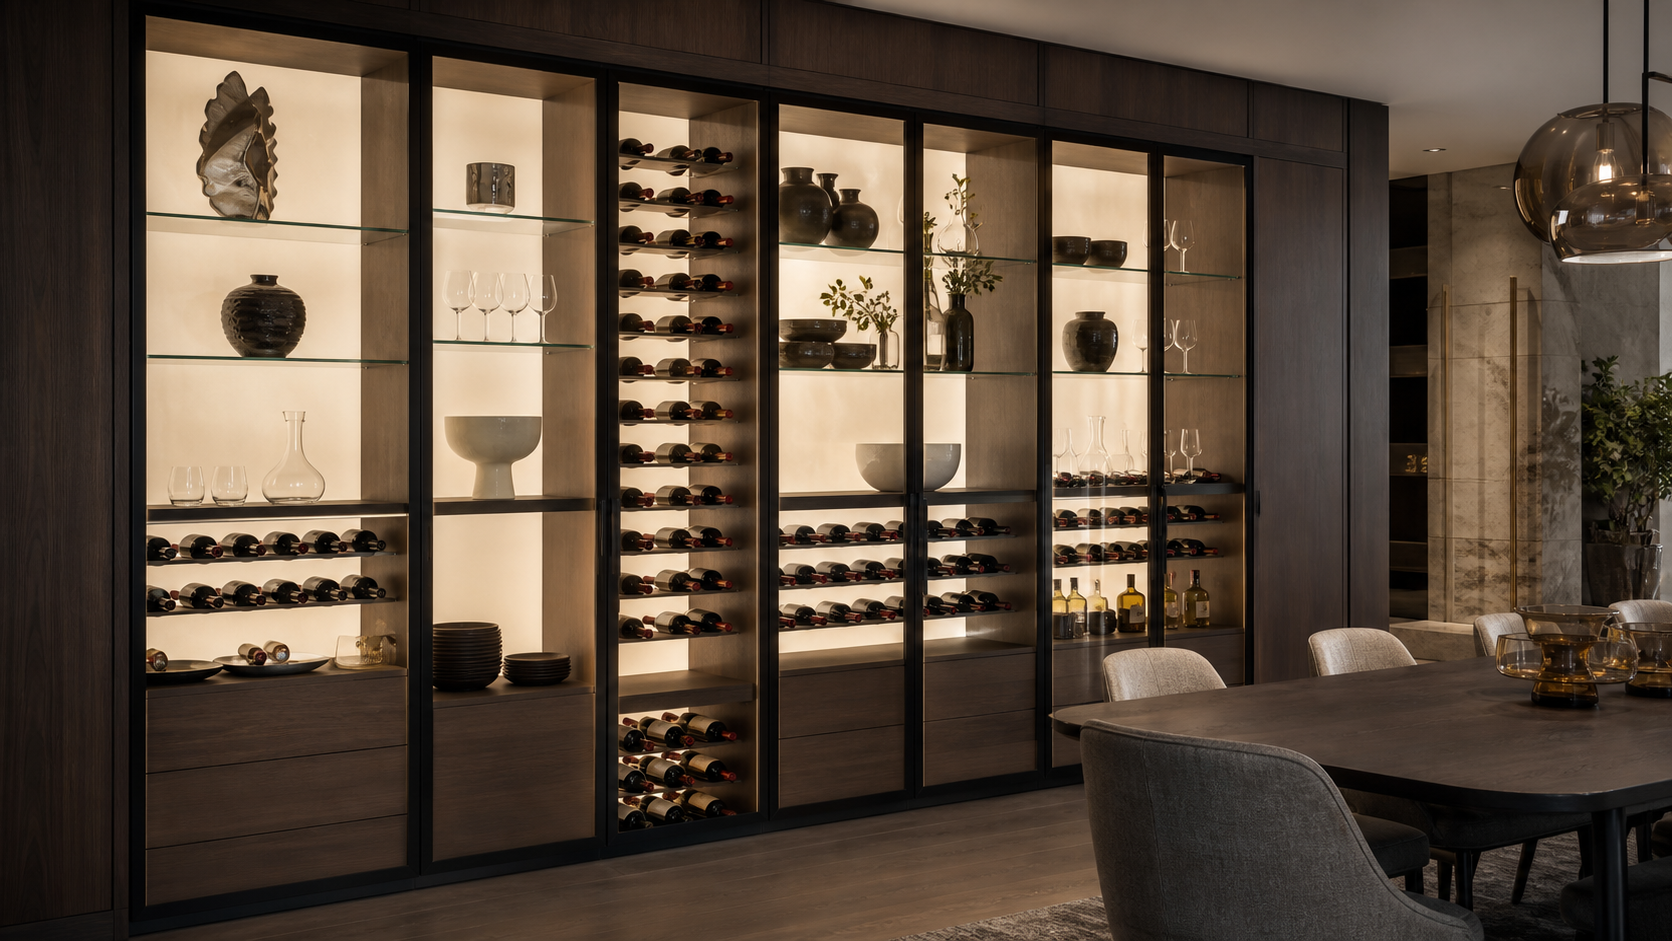
A slim side-lit panel can be integrated into the rear wall of a wine cabinet or display case, creating uniform background light that complements the displayed objects.
Side-Lit or Direct-Lit: Which Structure Works Better for Stone Walls and Cabinet Backlighting?
The practical differences are installation depth, component placement, and the way light is mixed. Defining the available space and viewing conditions first makes it easier to determine whether a light guide plate is required.
| Comparison Factor | Side-Lit Backlighting | Direct-Lit Backlighting |
|---|---|---|
| LED Position | Along the panel edges | Behind the illuminated area |
| Role of the Light Guide Plate | Core component that distributes edge light across the surface | Usually not required |
| Assembly Depth | Better suited to slim-profile structures | Requires a mixing distance between the LEDs and diffuser plate |
| Key to Uniformity | Optical dot pattern, light-entry direction, panel dimensions, and edge treatment | LED pitch, mixing distance, diffuser performance, and back-frame reflectivity |
| Common Issues | Light leakage at the entry edge, dim far edge, or faintly visible optical dots | Visible LED points, localized hot spots, or insufficient mixing distance |
| Suitable Applications | Slim stone walls, wine-cabinet back panels, and illuminated display-case panels | Walls or cabinets with enough depth for an LED array |
Extended Reading: How to Choose a Reliable Light Guide Plate Manufacturer — A Complete LGP Guide
What Are the Most Common Problems with Large Light Guide Plates?
Excessive Brightness or Visible LEDs Near the Light-Entry Edge
Light energy is most concentrated where the LEDs enter the plate. If the distance between the LEDs and plate, LED pitch, entry-edge masking, or near-edge dot pattern is not properly designed, a bright line or visible points may appear along the edge.
A Dim Center or Far Edge
As the illuminated area grows, light must travel farther. If the optical dot density is not progressively adjusted along the light path, or if single-edge input is used beyond a practical distance, too much light may be extracted near the LEDs and too little may remain for the center and far edge.
Insufficient Overall Brightness
A panel that looks uniform without its facing material may not remain bright enough after the light passes through stone or a decorative surface. Stone thickness and pattern, optical losses in diffusion materials, rear and edge leakage, and the efficiency of light coupling into the plate all affect visible brightness. Increasing LED power alone may add heat and energy consumption without addressing where light is being lost.
Localized Hot Spots or Visible Optical Dots
Close-view cabinet lighting and highly translucent facing materials with minimal patterning can make optical dots and small hot spots more noticeable. Review the dot pattern, the distance between the light guide plate and facing material, and whether the diffuser provides enough hiding power.
Quick Diagnostic Guide for Backlight Uniformity and Brightness
The table below connects visible symptoms with the first design conditions to inspect and practical improvement options. It can support discussions among designers, lighting manufacturers, and optical-material suppliers.
| Visible Issue | Check First | Potential Improvement |
|---|---|---|
| Visible LEDs or distinct light points | LED pitch, mixing distance, and light-entry position | Adjust the LED layout or increase the mixing distance, then add a high-uniformity diffuser plate where needed |
| Bright line along the light-entry edge | Distance between LEDs and light guide plate, masking structure, and near-edge dots | Refine the entry structure and use a diffuser plate or diffuser film to soften the remaining bright line |
| Dim center or far edge | Optical dot density, number of light-entry edges, and light-travel distance | Redesign the dot-density gradient and evaluate dual-edge or multi-edge input |
| Uniform appearance but insufficient brightness | Facing-material transmission, optical losses, and rear or edge leakage | Balance diffusion and optical efficiency, and add a reflector film behind the panel |
| Local variations caused by stone patterns | Stone thickness, pattern density, and distance from the light source to the facing material | Increase the mixing distance and select an appropriate diffusion material |
| Light leakage or dark edges around the frame | Back-frame reflectivity, edge masking, and assembly tolerances | Improve edge masking and the reflective conditions inside the back frame |
How Can Uniformity and Brightness Be Improved Step by Step?
Start by correcting the structural cause of the problem, then use diffusion or reflective materials to fine-tune the output. If the center is dim or the light-entry edge is too bright, adding more films may soften the visible difference but cannot replace adjustments to the LED layout, input direction, or optical dot pattern.
Optimize the LED Layout, Light-Entry Direction, and Optical Dot Pattern
For a side-lit panel with a bright near edge and dim far edge, first review the LED-to-plate position, number of light-entry edges, and whether dot density increases appropriately along the light path. For a direct-lit panel, check LED pitch, the LED-to-diffuser mixing distance, and whether the diffuser’s hiding power matches the structure.
Use the Right Diffuser Plate to Conceal LED Points
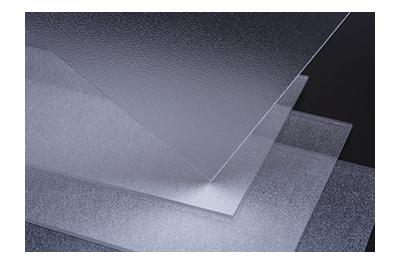
After the main optical structure has been optimized, a high-uniformity diffuser plate can help conceal remaining LED outlines, fine bright lines, or localized hot spots behind the stone. If the surface is already reasonably uniform but light output remains low, a high-efficiency diffuser plate may provide a more suitable balance between hiding power and light transmission.
Extended Reading: Is Higher Light Transmittance Always Better for LED Light Diffuser Plates?
Diffuser selection should consider LED hiding, mixing distance, and the actual facing material—not transmittance alone.
Use a Diffuser Film for Fine Adjustment in Space-Constrained Designs
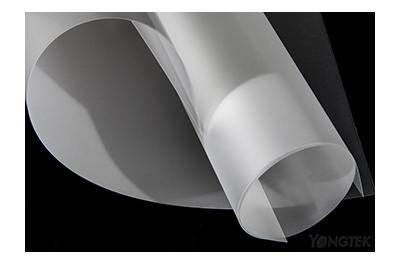
When panel depth is limited and the main uniformity issues have already been addressed, a PET diffuser film can soften subtle bright lines or surface grain with minimal added thickness. A diffuser film is intended for fine adjustment; it should not be used as a substitute for correcting the optical dot pattern or LED layout.
Use a Reflector Film to Recover Rearward Light
If the panel is uniform but appears too dim, check for light escaping through the rear and edges. A light reflector film behind the light guide plate redirects rearward light into the optical stack. Reflective surfaces, masking, and fit within the side and back frames also influence overall light utilization.
Extended Reading: Light Reflective Film — The Key to Enhancing Light Efficiency
Explore where reflective materials sit within a backlight structure and how they support brightness and light-leakage control.
Key Optical Design Conditions for Large Light Guide Plates
Build an Optical Dot-Density Gradient Along the Light Path
A large light guide plate normally cannot use a uniform dot density. Light extraction should be restrained near the entry edge and increased progressively farther from the LEDs to reduce brightness differences between near and far areas. The final pattern depends on panel dimensions, thickness, LED type, and the number of light-entry edges.
Choose the Light-Entry Direction Based on Aspect Ratio and Available Space
A long, narrow panel does not always need single-edge input. When the light-travel distance becomes excessive, dual-edge input can shorten the distance covered from each side. A large rectangular panel may require evaluation of multiple light-entry edges. Additional entry edges also increase requirements for LEDs, wiring, thermal management, and service access, so the decision should be coordinated with the wall or cabinet structure.
Control Bright Lines and Leakage Around Non-Illuminated Areas
A bright entry edge is not only a dot-pattern issue. It may also result from LEDs being too close to the clear area, excessive LED pitch, or inadequate frame masking. Poor reflection or masking at the rear, edges, and non-illuminated areas can also waste useful light. For large panels, light entry, reflection, masking, and thermal management should be treated as one integrated structural system.
Facing-Material Transmission and Viewing Distance Change the Uniformity Requirement
Natural patterns in translucent stone may hide some brightness variation, but uneven thickness can also accentuate local color differences. Clear or semi-translucent cabinet finishes may reveal optical dots more easily. The closer the viewing distance and the cleaner the surface, the more noticeable small variations tend to become.
Light guide and diffusion materials should therefore be selected according to the actual facing material, expected viewing distance, and installation depth—not only by viewing the uncovered panel. If the facing material or enclosure is still being developed, provide at least a transmissive sample, target dimensions, and planned LED position so the optical design retains reasonable adjustment room.
Reserve Space for Light Entry and Maintenance Before Finalizing the Interior Structure
Optical design for large stone walls and cabinet backlighting is often discussed late in the interior-design process, after frame depth, LED position, and service access have already been fixed. For a slim side-lit panel, confirm the light guide plate thickness, LED mounting edge, cable exit, thermal path, and space for diffusion and reflector materials before the mechanical structure is finalized.
A direct-lit project also needs enough mixing distance. Otherwise, stronger diffusion may be added late in the project to conceal LED points, reducing usable brightness. Reviewing optical and mechanical conditions on the same drawing makes it easier to balance uniformity, brightness, thickness, and maintainability.
What Information Should You Prepare Before Discussing a Large Light Guide Panel Project?
Backlight performance depends on the application, enclosure, facing material, and light source. These details help a supplier assess whether a side-lit or direct-lit structure is more appropriate and determine how the optical dot pattern, diffusion materials, and reflective layers should be configured:
- Illuminated-area dimensions, outer-frame dimensions, and available assembly depth
- Application location: translucent stone wall, wine cabinet, display case, wardrobe, or another interior feature
- Facing-material type and thickness, transmissive samples, and target color temperature
- LED model, LED pitch, planned light-entry direction, and power constraints
- Preferred side-lit or direct-lit structure; if undecided, provide the mechanical drawing for discussion
- Expected viewing distance, acceptable frame width, and maintenance method
- Prototype, pilot-run, and estimated production quantities
Frequently Asked Questions
Is a large light guide plate always better than direct-lit backlighting for a translucent stone wall?
No. A large light guide plate is suited to slim side-lit structures. If the wall has sufficient depth, a direct-lit structure may also be practical. The decision should reflect installation depth, illuminated dimensions, facing material, and maintenance requirements.
Why does the center of a large light guide plate sometimes appear dim?
Common causes include an excessive light-travel distance, too much load on a single light-entry edge, or an optical dot pattern that does not increase appropriately with distance. Review the dot-density gradient and consider dual-edge or multi-edge input.
Can a diffuser plate solve every backlight uniformity problem?
No. A diffuser plate can soften LED points and small brightness variations, but problems caused by the LED layout, light-entry structure, or optical dot pattern must be corrected at their source.
How should I choose between a diffuser plate and a diffuser film?
A diffuser plate generally provides stronger LED hiding and light mixing. A diffuser film adds less thickness and is better suited to fine-tuning surface appearance in a compact structure. Selection should also account for optical efficiency, facing material, and available depth.
Can a reflector film increase the brightness of a large luminous panel?
A reflector film redirects rearward light into the optical structure and can improve light utilization. The result also depends on back-frame reflectivity, edge leakage, masking, and assembly quality.
Why are small LED points more noticeable in wine cabinets and display cases?
These applications are usually viewed at close range and may use clearer facing materials, making bright entry lines, LED spacing, and optical dots easier to see.
Do I need complete LED specifications before requesting a custom large light guide plate?
At minimum, provide the illuminated dimensions, available depth, LED position, light-entry direction, facing material, and target brightness. More complete information makes it easier to assess the dot pattern, optical materials, and backlight structure.
Looking for a Professional Light Guide Plate Manufacturer?
If you are developing a translucent stone wall, illuminated cabinet back panel, or another large interior luminous panel, contact YONGTEK with the illuminated dimensions, available depth, facing material, LED layout, and estimated quantity to discuss custom large light guide plates and related optical materials.